

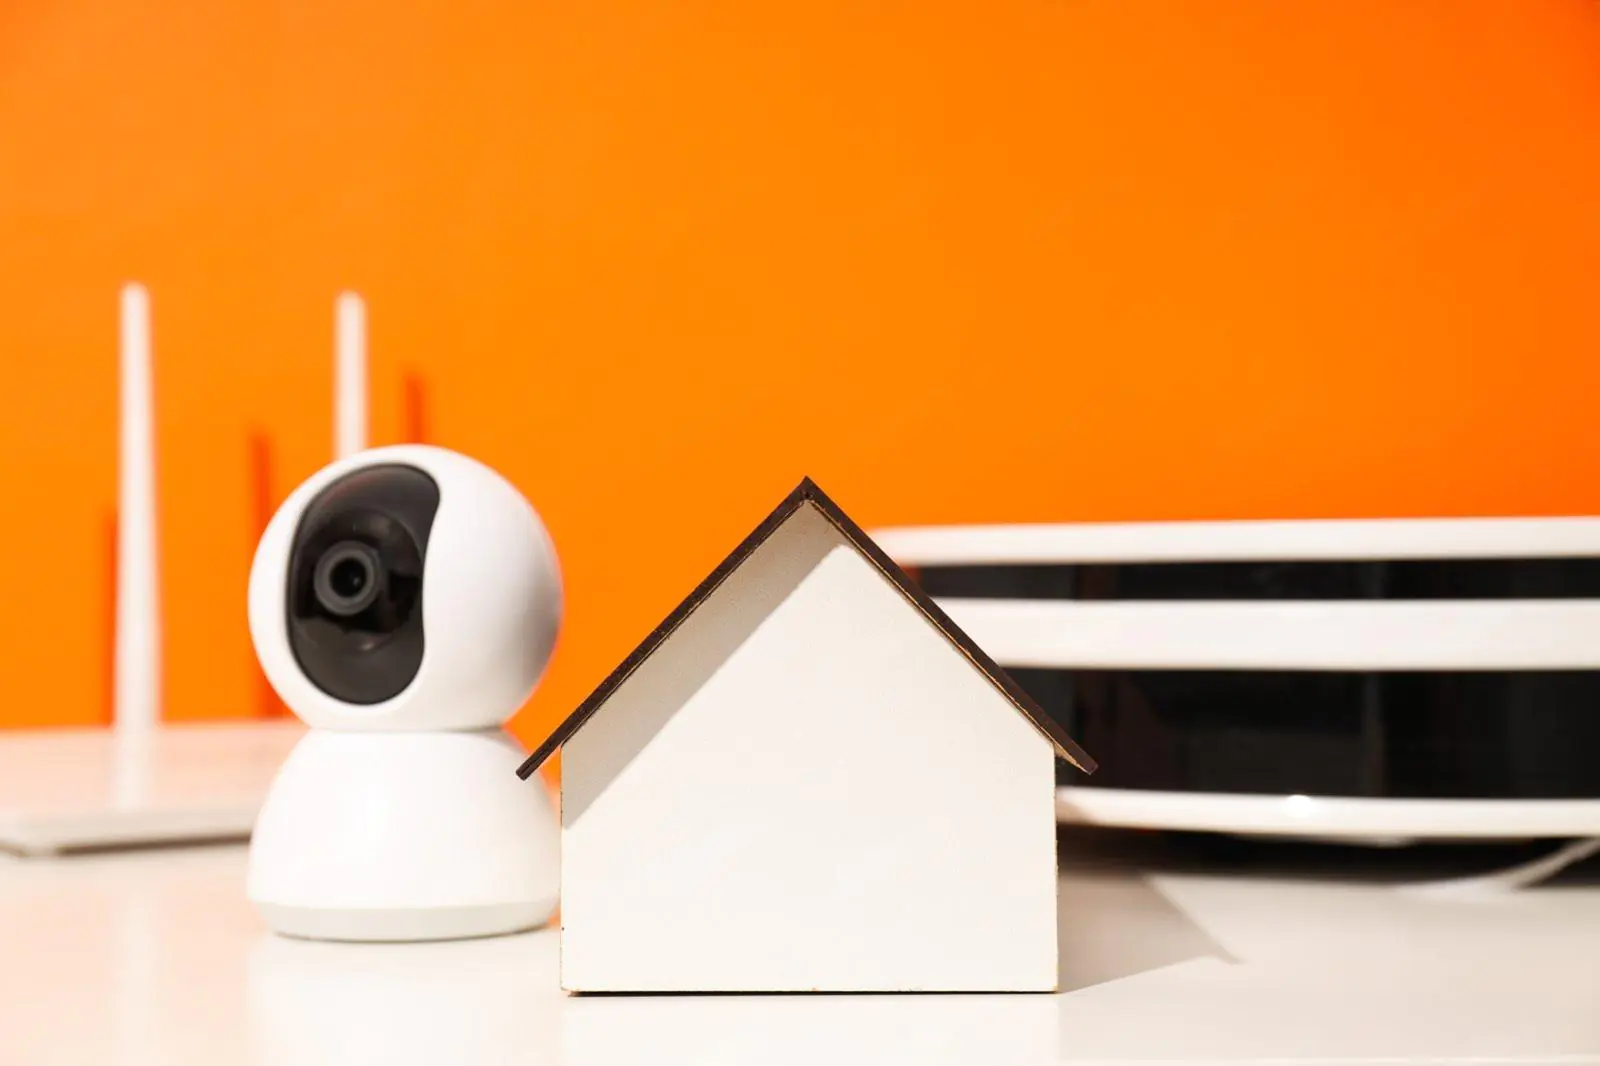
Top 5 Home Video Surveillance Mistakes Beginners Make (& Fixes)
You spent three weekends researching security cameras, comparing reviews, and watching installation tutorials. You bought highly-rated cameras, mounted them carefully, and configured the app. Your home video surveillance system works perfectly—the app shows live feeds, motion alerts arrive on your phone, and everything records to the cloud.
Then someone steals packages from your porch. You pull up the footage expecting clear evidence, and see… a blurry figure too grainy to identify. The camera captured everything—but captured nothing useful.
This scenario repeats constantly because “working” cameras and “effective” security are completely different things. Most first-time buyers make the same five mistakes that transform potentially excellent video surveillance into expensive decorations that provide false confidence instead of real protection.
This guide identifies those mistakes, explains why they compromise security, and provides corrections that actually work—including when DIY approaches aren’t enough and professional video surveillance services become necessary.
Mistake #1: Cameras Mounted in Wrong Locations
Why This Ruins Everything
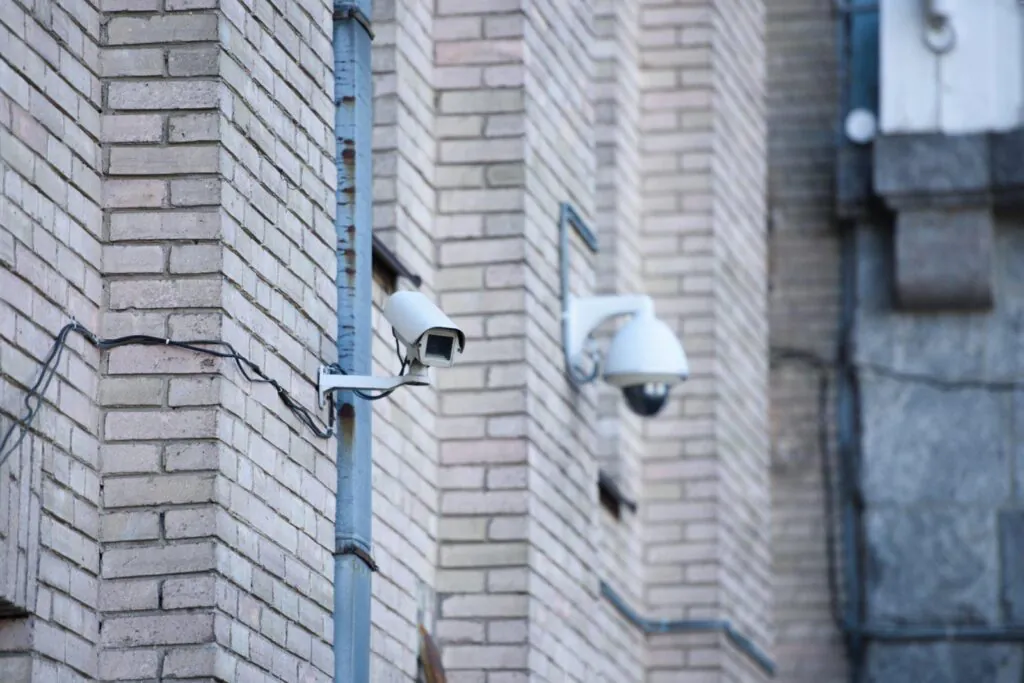
Camera placement determines whether your system identifies threats or just records useless footage. Most beginners mount cameras in convenient locations—not effective ones. Understanding video surveillance installation errors to prevent helps avoid the most common placement mistakes that compromise home security.
Common placement mistakes:
- Too high to identify faces: Cameras mounted 12-15 feet up capture tops of heads, not faces. You can’t identify someone from their hair.
- Wrong angles: Doorbell cameras pointing up driveways show vehicles approaching but miss faces of people at the door.
- Ignoring approach paths: Cameras covering front doors but not sidewalks leading to them allow intruders to hide faces until they’re directly under cameras.
- No coverage overlap: Single cameras per area mean moving between camera views allows criminals to avoid identification.
- Backlit positioning: Cameras facing windows or bright backgrounds create silhouettes instead of identifiable images.
A homeowner installed four cameras covering all entry points. When their garage was burglarized, footage showed a person entering—but from above and behind, making identification impossible. The camera technically captured the crime but provided zero useful evidence.
The Fix That Actually Works
Optimal residential camera positioning:
Front entry cameras (doorbell or dedicated):
- Height: 7-9 feet maximum for facial identification
- Angle: 15-20 degrees downward capturing faces approaching door
- Position: Cover both the door AND the approach path (sidewalk, driveway)
Driveway and yard cameras:
- Height: 8-10 feet capturing vehicle details and approaching people
- Angle: Multiple cameras creating overlapping coverage eliminating gaps
- Position: Cover arrival and exit paths, not just parking areas
Back and side entry cameras:
- Cover approaches to doors, not just the doors themselves
- Position to avoid backlighting from house lights or setting sun
- Ensure overlapping coverage with adjacent cameras
Package delivery areas:
- Low-angle coverage (6-8 feet) capturing faces as people approach
- Sufficient coverage to identify both delivery personnel and package thieves
- Consider dedicated doorbell cameras supplementing higher mounted cameras
Quick test: Have someone walk typical approach paths while you watch camera feeds. If you can’t clearly see and identify their face, repositioning is necessary. For comprehensive guidance, review this complete home security essentials guide covering optimal camera placement for residential properties.
Mistake #2: Buying Wrong Equipment for the Job
The “Good Reviews” Trap
First-time buyers rely heavily on Amazon reviews and YouTube recommendations—but cheap cameras with thousands of 5-star reviews often fail within months or provide inadequate image quality when it matters most. Common mistakes in home security installation frequently stem from equipment selection errors rather than installation problems.
Equipment selection mistakes:
Using indoor cameras outdoors: Indoor cameras lack weatherproofing and temperature resistance. They fail within weeks when exposed to rain, heat, or cold. Waterproof ratings matter—IP65 minimum for outdoor use.
Choosing cameras with inadequate resolution: 720p cameras can’t identify faces at 10+ feet. 1080p is minimum for useful footage; 2K or 4K provides identification capability at greater distances.
Ignoring night vision quality: Most crimes occur after dark. Cameras with poor IR (infrared) night vision or insufficient range produce useless nighttime footage—exactly when you need it most.
Buying wireless cameras for permanent installations: Battery-powered cameras sound convenient but require charging every 2-8 weeks. Most people forget, leaving cameras dead during incidents. Wireless cameras also compress video more aggressively to save battery, reducing quality.
Selecting cameras without local storage options: Cloud-only cameras stop recording during internet outages—exactly when intruders might cut external cables. Local backup storage prevents this single point of failure. Understanding the pros and cons of cheap home security cameras helps evaluate when budget options work and when they compromise security.
The Fix That Actually Works
Smart equipment selection for homes:
Outdoor cameras:
- IP66 or IP67 weather resistance rating minimum
- Operating temperature range matching your climate
- Metal housing (more durable than plastic)
- Cost: $150-$400 per camera for reliable outdoor models
Resolution standards:
- Entry points and high-value areas: 2K (4MP) or 4K (8MP)
- General coverage areas: 1080p (2MP) minimum
- Never purchase anything below 1080p—storage is cheap, theft is expensive
Night vision requirements:
- IR night vision with 50+ foot range for most residential applications
- Color night vision (low-light sensors) for areas with ambient lighting
- Test night vision performance before finalizing camera positions
Power and connectivity:
- Wired power (PoE or direct connection) for permanent cameras
- Battery/solar only for temporary or difficult-to-wire locations
- Hybrid systems with local storage plus cloud backup
Budget allocation: Spend $200-400 per camera for outdoor, $100-200 for indoor. Four quality cameras protect better than eight cheap ones. Quality matters more than quantity for effective home video surveillance.
Mistake #3: No Network Planning for Multiple Cameras
When Your Internet Can’t Handle Your Cameras
Video surveillance consumes significant bandwidth—especially high-resolution cameras running continuously. Most first-time installers never calculate bandwidth requirements until cameras start disconnecting or footage becomes unwatchable.
Network planning mistakes:
Insufficient internet speed: Each 1080p camera uses 2-4 Mbps of upload bandwidth. Four cameras require 8-16 Mbps upload—many home internet connections provide only 5-10 Mbps upload despite fast download speeds.
Overloaded WiFi networks: Wireless cameras compete with phones, computers, smart TVs, and other devices for WiFi bandwidth. When bandwidth maxes out, cameras disconnect or record choppy footage.
Router capacity exceeded: Budget routers handle 10-15 simultaneous devices. A home with 6 cameras, 4 phones, 3 computers, 2 tablets, and smart home devices overwhelms the router, causing intermittent connectivity for everything.
Poor WiFi coverage: Cameras installed in garages, yards, or distant rooms receive weak WiFi signals causing disconnections and poor video quality.
No bandwidth management: Cameras set to maximum quality consume unnecessary bandwidth. Without configuration optimization, systems use 3-4× more bandwidth than necessary.
The Fix That Actually Works
Network capacity planning:
Internet speed requirements:
- Calculate camera bandwidth: (Number of cameras) × (4 Mbps per 1080p camera) = Required upload speed
- Add 25% buffer for other devices and network overhead
- Example: 6 cameras = 24 Mbps + 6 Mbps buffer = 30 Mbps upload minimum
WiFi optimization:
- Use 5GHz WiFi band for cameras (less interference, faster speeds)
- Position router centrally for whole-home coverage
- Add WiFi extenders or mesh systems for distant cameras
- Consider wired (PoE) cameras for basement, garage, or outdoor locations
Router upgrade criteria:
- Replace routers over 4 years old
- Ensure router supports 802.11ac or 802.11ax (WiFi 6)
- Verify router can handle 25+ simultaneous devices
- Cost: $100-200 for quality home routers handling camera loads
Camera configuration optimization:
- Set continuous recording to high quality (important areas) or medium quality (general coverage)
- Configure motion-activated recording saving bandwidth during low-activity periods
- Use H.265 compression reducing bandwidth 40% vs. H.264 without quality loss
- Schedule reduced quality/frame rate during hours when monitoring is less critical
Testing before committing: Set up cameras temporarily before permanent installation. Run for 48-72 hours verifying stable connectivity, adequate video quality, and no impact on other internet usage.
Mistake #4: Ignoring Storage Planning and Privacy Laws
When Footage Disappears or Creates Legal Problems
Home video surveillance generates massive amounts of data. First-time users rarely plan storage adequately—discovering too late that footage disappeared before they needed it. Others create legal problems recording areas they legally cannot. Reviewing common home security mistakes people make prevents storage and privacy issues that compromise security effectiveness.
Storage and privacy mistakes:
Inadequate retention periods: Free cloud plans typically store 24-48 hours of footage. Most incidents aren’t discovered immediately—package theft noticed days later, vacation burglary discovered upon return. Footage gets deleted before you know you need it.
No storage redundancy: Single storage location (cloud-only or local-only) creates vulnerability. Cloud storage fails during internet outages; local storage gets stolen with the recorder during break-ins.
Recording neighbors’ properties: Cameras capturing public sidewalks are legal, but cameras intentionally monitoring neighbors’ yards, windows, or private areas create privacy violations and potential legal liability.
No notification signage: Many states require visible notification that video recording occurs. Failure to post signage can make footage inadmissible as evidence.
Recording audio without consent: Audio recording laws are stricter than video. Many states require two-party consent for audio recording—your cameras with microphones might violate wiretapping laws.
The Fix That Actually Works
Storage planning:
Retention period calculation:
- Minimum: 7 days (covers most immediately-discovered incidents)
- Recommended: 30 days (covers incidents discovered during travel or delayed notice)
- High-security: 60-90 days (maximum protection)
Storage options:
- Cloud storage: Accessible remotely, survives local disasters, costs $3-10 per camera monthly
- Local storage: One-time cost, works during internet outages, requires adequate capacity
- Hybrid approach: Local primary storage with critical cameras backing up to cloud
Storage capacity calculation:
- 1080p camera uses approximately 60-100 GB per week
- 4 cameras × 100 GB/week × 4 weeks = 1.6 TB minimum monthly
- Purchase 2-3× calculated capacity accommodating quality fluctuations
Privacy compliance:
Legal camera coverage:
- Your property, common areas, and immediate perimeter: Legal
- Public sidewalks and streets visible from your property: Legal
- Neighbors’ yards, windows, or private areas: NOT legal without consent
Required notifications:
- Post visible signage: “Video Surveillance in Use” or equivalent
- Signage at main entry points visible before entering recording areas
- Check local/state requirements—some specify signage size, placement, or wording
Audio recording rules:
- Disable audio recording unless absolutely necessary
- If using audio, verify your state’s consent requirements
- Consider two-party consent states requiring all recorded parties to consent
- Never record audio in areas where privacy expectation exists (inside homes through windows)
For homes requiring sophisticated monitoring of specific areas like childcare spaces, explore specialized solutions for monitoring with nanny cams that address privacy and legal considerations.
Mistake #5: No Monitoring Plan (Cameras Without Watchers)
The “Record and Forget” Problem
This is the most critical mistake: having cameras that record everything but nobody watches. Video surveillance without monitoring provides evidence after crimes—not prevention during crimes.
Monitoring mistakes:
Relying on phone notifications: Motion alerts arrive constantly (cars, animals, delivery drivers, neighbors). After 2-3 days of dozens of daily alerts, you stop checking them. When real incidents trigger alerts, they’re ignored among the noise.
No response plan: You receive an alert at 2 AM showing someone on your property. What do you actually do? Most people watch helplessly through the app, uncertain whether to call police (and risk false alarm fines) or wait to see if it’s legitimate.
Self-monitoring limitations: You can’t watch cameras while working, sleeping, or living your life. Incidents occur during the 99% of time you’re not watching. Recorded evidence helps after the fact but doesn’t prevent incidents.
No professional backup: Remote video surveillance without professional video monitoring services means you’re responsible for constant vigilance—an impossible standard for working homeowners.
The Fix That Actually Works
False alarm reduction:
- Fine-tune motion detection sensitivity eliminating triggers from cars, animals, shadows
- Configure activity zones ignoring areas with constant movement (streets, sidewalk edges)
- Use person detection (if available) triggering only on human shapes, not all movement
- Schedule alerts for relevant times (after-hours only if threats occur primarily at night)
Effective self-monitoring:
- Check cameras daily during routine (morning coffee, evening wind-down)
- Review footage weekly for missed events or developing patterns
- Respond to alerts within 5 minutes or they’re useless
- Have response plans: when to call police, when to use two-way audio warnings, when to dismiss
When professional monitoring becomes necessary:
- High-crime neighborhoods where threats are frequent
- Vacation homes left unattended for weeks/months
- Rental properties requiring oversight
- Families with elderly relatives or children needing monitoring
- Business-from-home operations with valuable equipment
- Anyone lacking time/capacity for consistent self-monitoring
Professional monitoring advantages:
- Trained operators watching cameras 24/7
- Immediate verification of genuine threats vs. false alarms
- Two-way audio intervention warning intruders
- Verified police dispatch with detailed threat information
- Response time: seconds vs. hours with self-monitoring
Compare companies offering 24/7 live monitoring to understand professional service capabilities beyond DIY monitoring. For comprehensive service options, explore video surveillance services and video monitoring services available for residential properties.
When DIY Isn’t Enough: Professional Help That’s Worth It
Signs Your DIY Approach Needs Professional Support
You should consider professional installation/monitoring if:
- Complex property layouts exceed your technical capabilities
- Multiple previous DIY attempts failed to achieve desired results
- Network infrastructure requires upgrades beyond your knowledge
- High-value property justifies professional-grade protection
- Time constraints prevent proper DIY installation and testing
- Legal/privacy concerns require expert guidance
- No capacity for ongoing maintenance and monitoring
What professional services actually provide:
Professional monitoring:
- 24/7 live surveillance without requiring your constant attention
- Immediate threat response and police coordination
- False alarm filtering (95% reduction in unnecessary alerts)
- Two-way audio intervention deterring intruders
- Guaranteed response times and service levels
Cost comparison:
- DIY installation: $800-$3,000 equipment + $0-100/month cloud storage
- Professional installation: $1,500-$5,000 equipment/installation + $20-100/month monitoring
- One prevented break-in ($5,000-$25,000 average loss) pays for professional services 2-10 years
Understanding how surveillance technology impacts society provides context for why professional implementation often outperforms DIY approaches in effectiveness and reliability.
Stop Making Expensive Mistakes
Home video surveillance that actually protects requires more than buying cameras and mounting them. Proper placement, appropriate equipment, adequate network capacity, sufficient storage, and effective monitoring determine whether your system provides real security or false confidence.
These five mistakes cost first-time buyers thousands in wasted equipment, missed incidents, and compromised security. But all five are completely preventable with proper planning and realistic assessment of DIY capabilities vs. professional needs.
Get Professional Video Surveillance Support:
GCCTVMS provides professional remote video surveillance services including expert installation, system optimization, and 24/7 monitoring ensuring your home security actually protects your family and property. Review our comprehensive services for residential security solutions.
Contact GCCTVMS for expert guidance:
📞 Call: +1 501 621 0002
📧 Email: Info@gcctvms.com
Stop guessing. Start protecting.
FAQ’s
What’s the most common mistake first-time home security camera buyers make?
Poor camera placement is the #1 mistake—mounting cameras too high (unable to identify faces), wrong angles (showing heads not faces), or ignoring approach paths. Cameras should mount 7-10 feet high with 15-20 degree downward angles covering both destinations and approach paths for effective identification.
Are cheap security cameras worth buying for home use?
Budget cameras under $50 typically fail within 6-12 months and provide poor image quality making identification impossible. Spend $100-200 for indoor, $200-400 for outdoor cameras. Four quality cameras protect better than eight cheap ones—quality matters more than quantity for effective home video surveillance.
Do I need professional monitoring or can I watch cameras myself?
Self-monitoring works if you can check alerts within 5 minutes 24/7 and respond appropriately. Most people stop checking alerts after 2-3 days of false alarms. Professional monitoring provides trained operators watching continuously, verifying threats, intervening via two-way audio, and dispatching police—preventing 60-78% of incidents vs. 12-18% with self-monitoring.
What camera resolution do I actually need for home security?
1080p minimum for general coverage; 2K-4K for entry points and high-value areas. Higher resolution enables identification at greater distances. Never purchase below 1080p—cheap 720p cameras can’t identify faces at 10+ feet, making footage useless for evidence or police investigation.
Should I install home security cameras myself or hire professionals?
DIY works for tech-comfortable homeowners with simple layouts, adequate time, and willingness to troubleshoot. Hire professionals if: complex property layouts, previous DIY attempts failed, network infrastructure needs upgrades, high-value property justifies professional-grade protection, or no capacity for ongoing maintenance and monitoring.